1. To add your “Listings” manually, go to “Estatik”, click “My Listings” then “Add New”. See screenshot below:
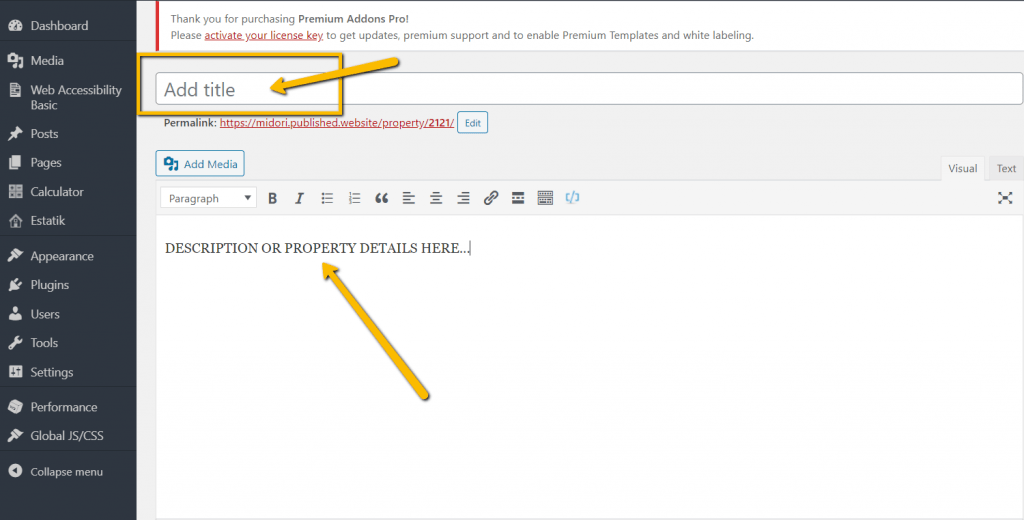
2. Enter the “Title” and “Property Details or Description”. See screenshot below:
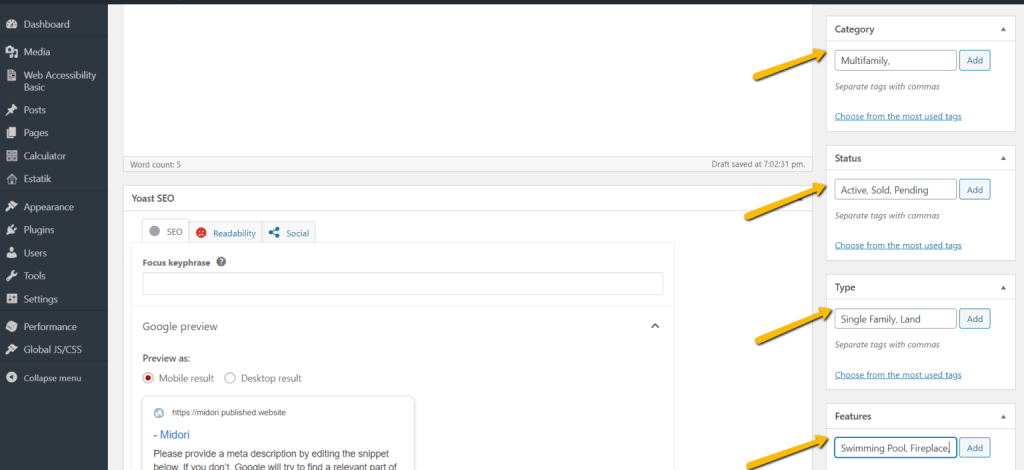
3. Type in the “Category”, “Status”, “Type”, and “Features” then click “Add”. You’ll find this at the right side panel of the page. Separate tags with commas. See screenshot below:
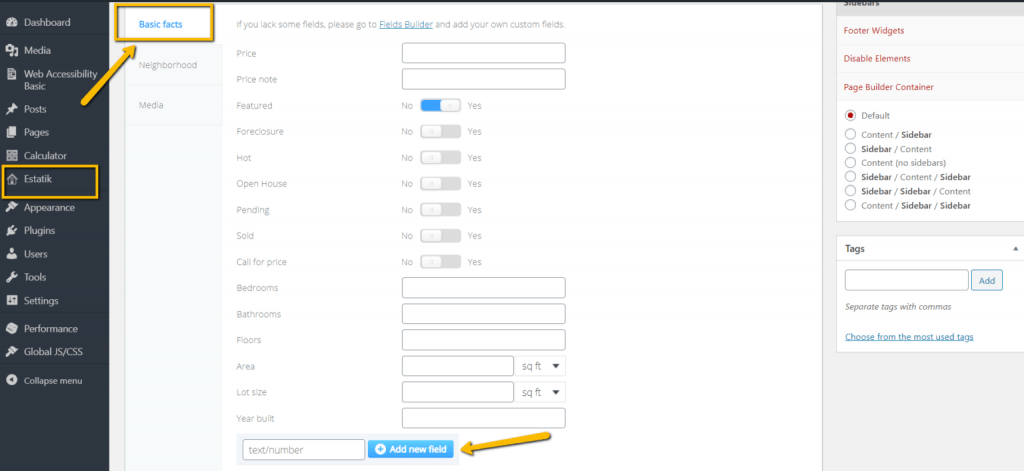
4. Scroll down and Enter all basic information, click on “Basic Facts”. You also have an option to “Add a new field” (MLS number, Subdivision/Neighborhood, Garage/Parking, Listing Agent, etc.). See screenshot below:
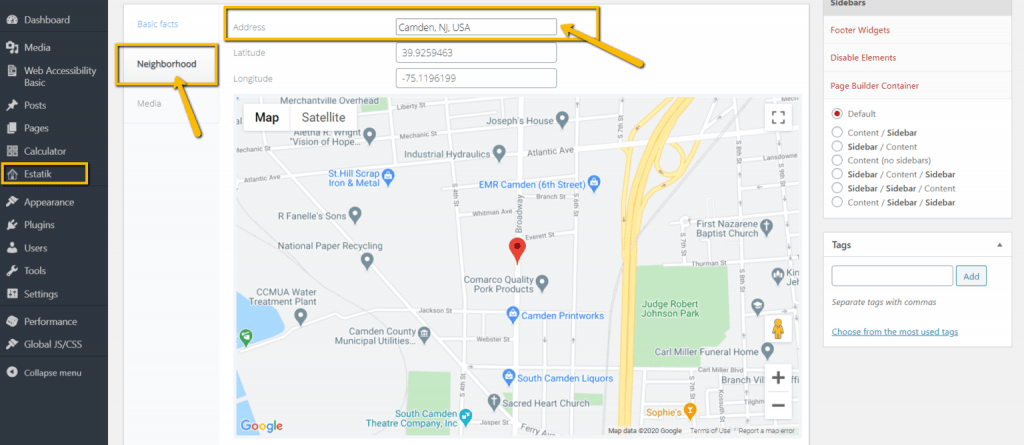
5. Below basic facts, click on “Neighborhood” and enter the location or address. It will auto-populate and the Map will display if you entered the correct or an accurate address. See below:
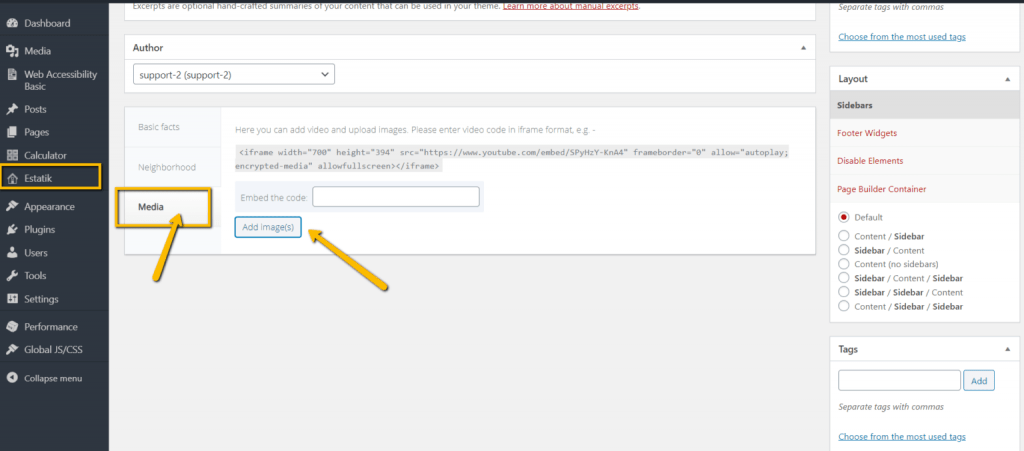
6. To add property images or photos, click on “Media” just below Neighborhood then “Add Images” to upload. See screenshot below:
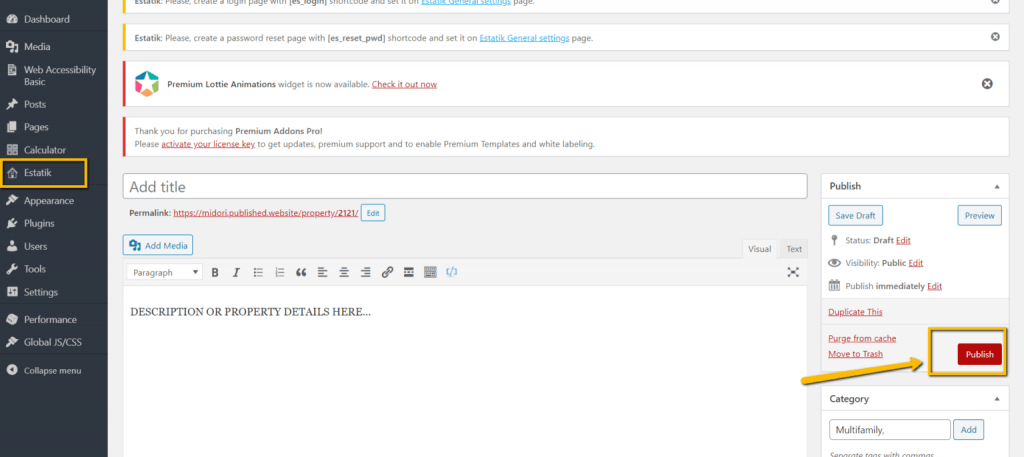
7. Don’t forget to hit “Publish” when you’re ready to post your listing on your website. All manually uploaded listings will automatically go to your “Properties” page. See screenshot below:
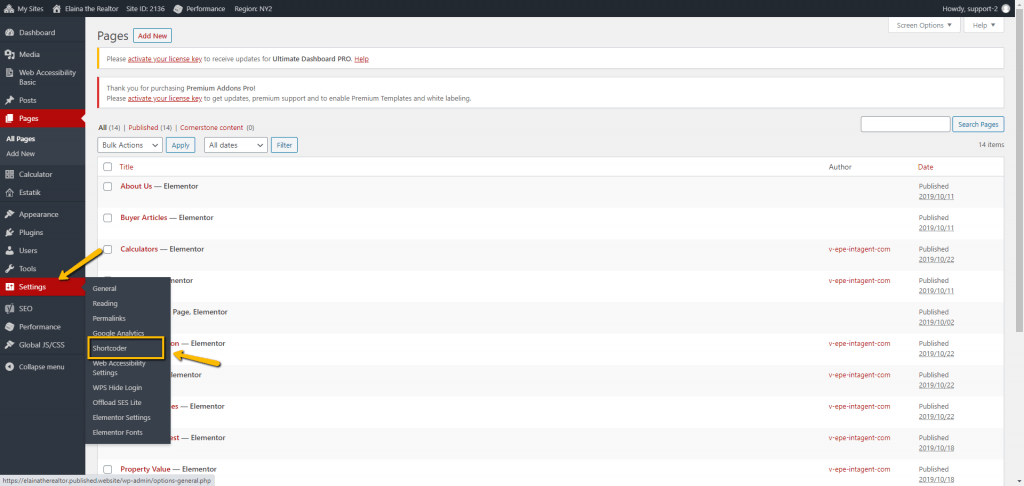
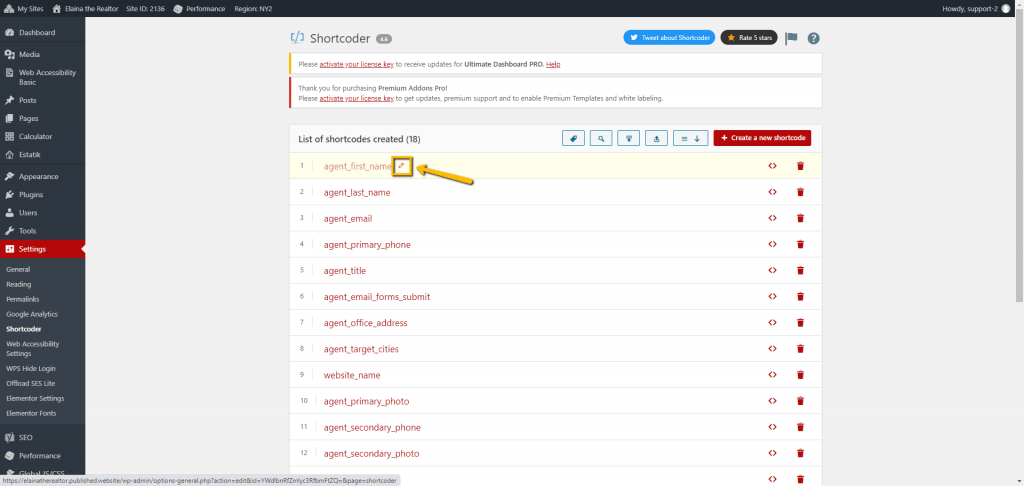
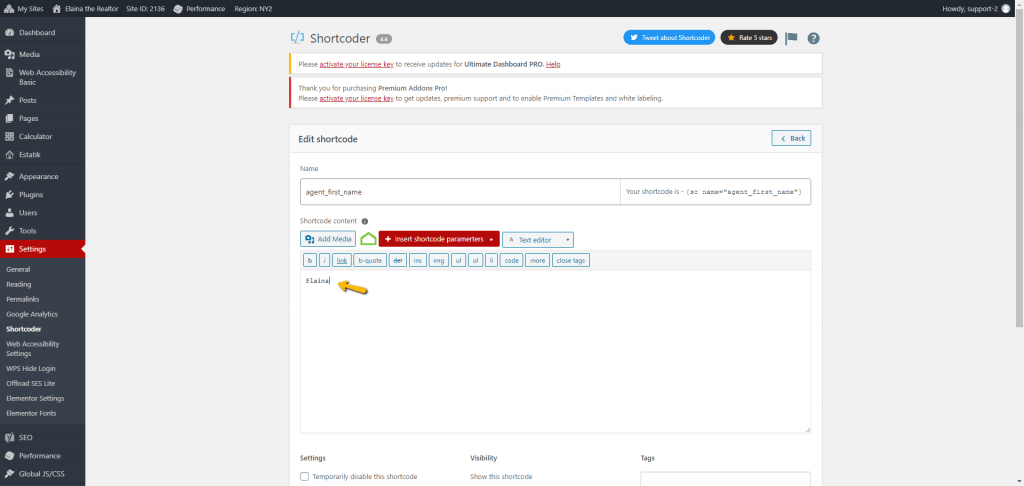
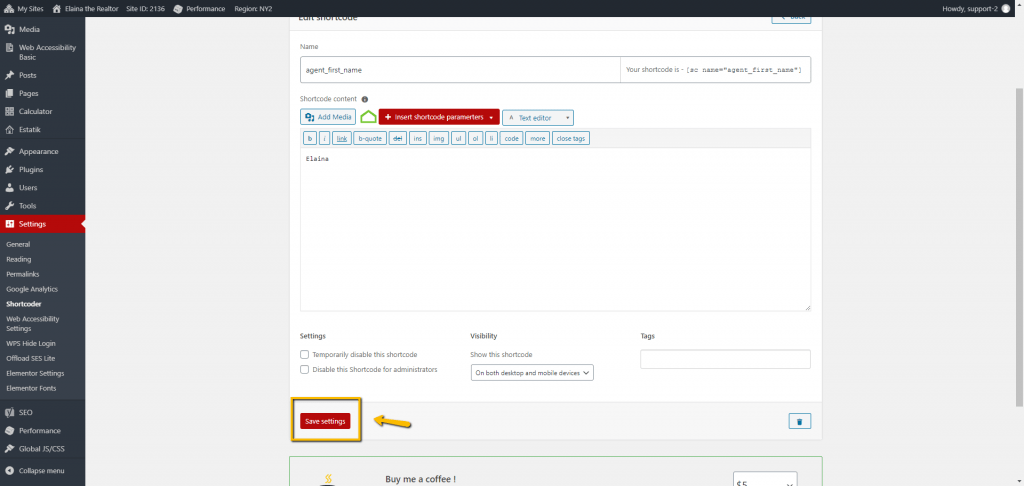
To update your contact information, go to “Settings” , click on “Shortcoder” then select the necessary item to update and click save.
See screenshots below:
1.
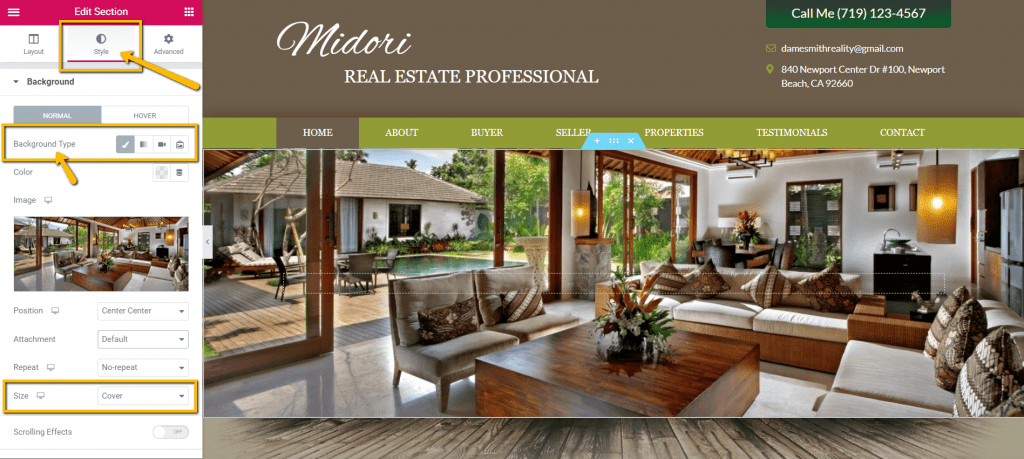
Changing your “Homepage Background” can be done in several ways. You can choose to have a still image, a slideshow of images, or a video file.
From your backend dashboard, you can edit in 2 ways:
See screenshot below:
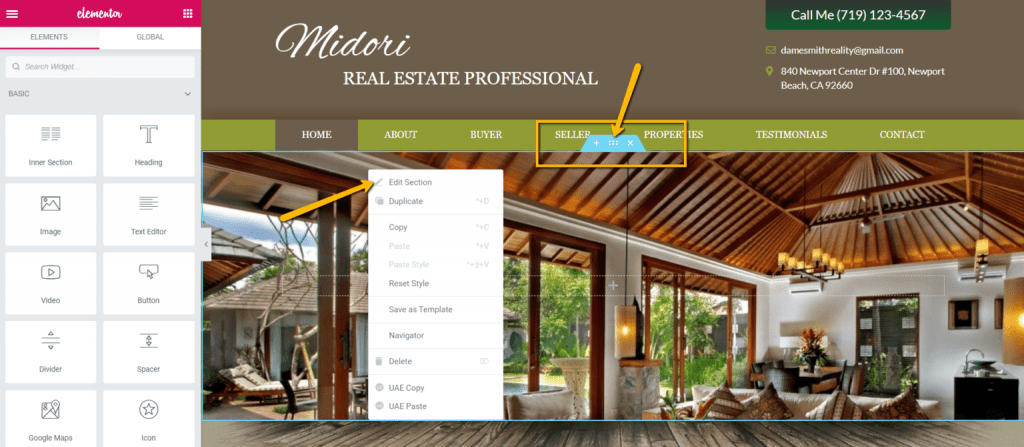
Once you see the “Edit Section” area on the left side panel, click or go to the “Style” tab. From there, you will see “Background” and have the option to upload your preferred images. Don’t forget to change the size to “Cover”. Once all images are uploaded, don’t forget to hit “Update” at the bottom to save all your changes.
See screenshot below: